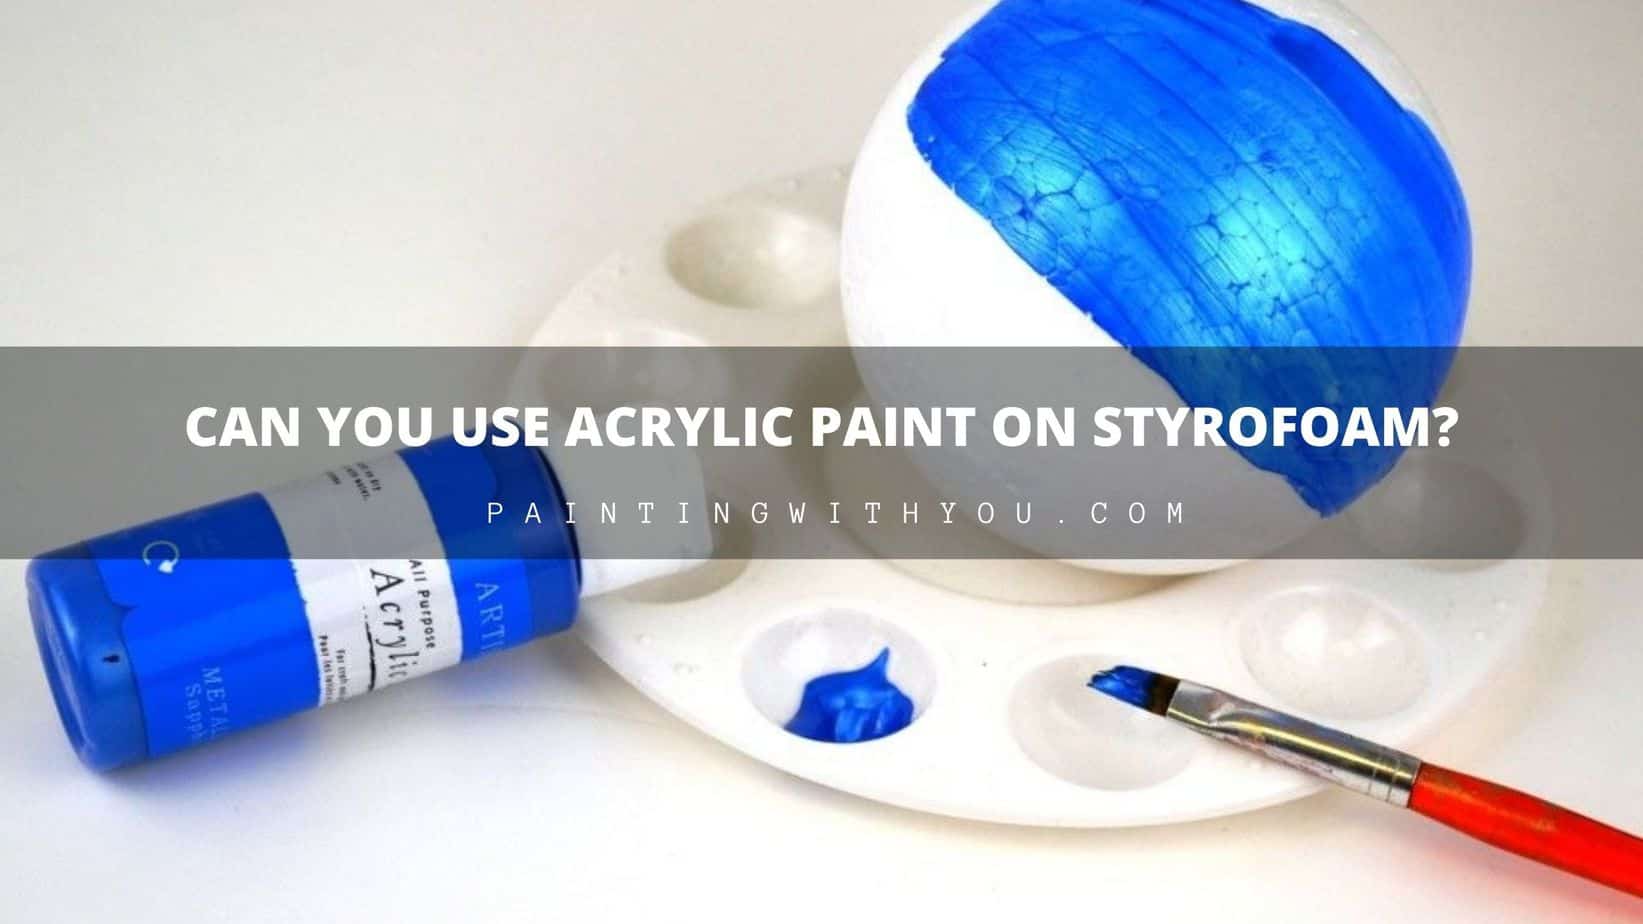
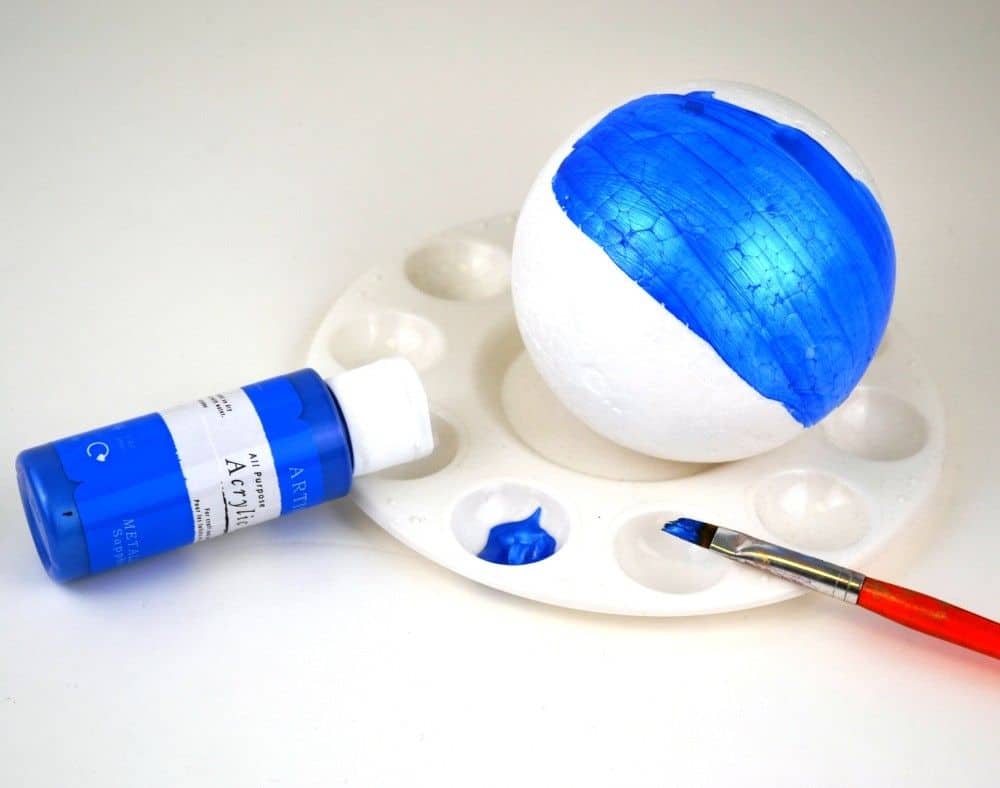
Good news is acrylic paint and Styrofoam are pretty darn compatible! It will take you a few coats of paint to cover up those porous holes, but it works amazing. Using a foam or soft brush to cover the surface will give you that smooth exterior finish you wanted in the end.
Can you use Acrylic Paint on Styrofoam is actually one of the most common questions asked. So in short:
Acrylic paint is best type of paint, you can use on Styrofoam. Acrylics will adhere and last longer than any other paint. The combination of styrofoam and acrylics have many advantages :
- They materials are cheaper than most art projects
- No matter what age you are, it’s an easy craft to do
- Non-toxic!
Now it’s time craft. My favorite part! Here are some of the best tips and tricks on everything from the various types of acrylics all the way down to what is the best way to apply acrylics and benefits of using them on styrofoam.
Material Needed for painting on Styrofoam
First, you need to gather all materials needed:
- Styrofoam balls or any other shape, you will be painting on
- Acrylic paint
- Plate/Bowl to squeeze acrylic paint onto
- Primer and/or Sealant such as Mod Podge
- Foam, soft brush
- Stencil brushes (optional)
- Painter’s tape – optional if you are using multiple colors
- 2 Popsicle stick or cardboard part of a toilet paper holder. (optional)
- Extra square piece of styrofoam (optional)
How To Use Acrylic Paint On Styrofoam?
Once all your materials and workspace are setup, you can begin the process.
Step 1: Cover sections you are not painting
Tape off any sections of styrofoam that you do not want to paint with painter’s tape.
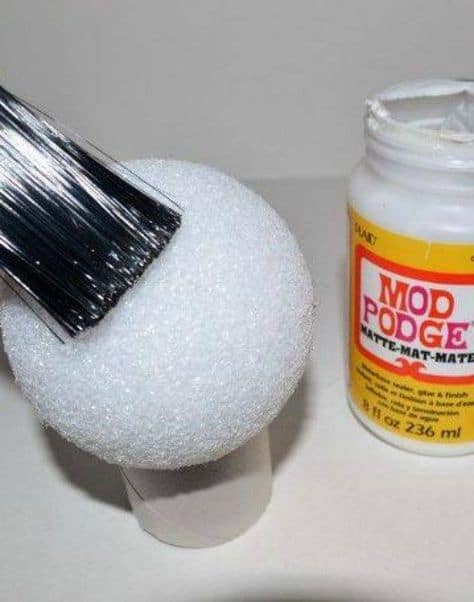
Step 2: Prime your styrofoam.
It’s important to prime, because it protects the styrofoam. It also creates a great outer layer for a smoother coat. In general, it lasts longer and that is what we want!
I would use Mod Podge as it helps give a strong outer layer to paint on.
Step 3: Dry Time
Let your styrofoam dry from the primer. Shouldn’t take too long – about 20 minutes.
While you wait read the rest of the post. It’ll prepare you for what’s to come next ☺
Step 4: Painting preparation
Now, if you don’t want messy hands and you are trying to paint the foam in one go, there are 2 ways to approach this.
- Using a popsicle stick you can stick one end into the foam so that you have a way to turn it while you paint. Then once you are done painting you can stick the opposite end into a square piece of styrafoam to hold while it dries. Keep in mind not to jab your project to pieces, because the hole where you placed in the stick will otherwise be visible.
- If you use the cardboard part of the toilet paper holder, then you can set the project on top of that to paint or let dry. With this option, you will have portions you need to paint after the other sections dry.
Step 5: Painting Styrofoam
Using a foam brush dab your brush in the paint and start painting in even strokes around the foam. Twist and turn it around using the popsicle stick.
If you want to, you can use a stencil brush here, to help you minimize any uneven bumps. There are foam ones and natural bristle ones that are great. These are great for kids and adults to use as well. Most popular ones with amazing reviews on Amazon are listed below:
[amazon box=”B01N0J37MT,B07VT3Y7XQ,B07J57DHM6″ grid=”3″]
Step 6: Apply second coat
Painting Styrofoam again is needed because it’s surface is porous. All those holes that aren’t covered you will need to cover. Wait a bit until it is thoroughly dry and then apply the second coat.
You might have to do several coats of paint until you are happy with the way it looks. Hopefully the Mod Podge primer helps with getting rid of some of those holes to create an even surface.
Step 7: Sealing time!
After you finished applying all the coats, seal it. There are a lot of primers out there for sealing your project, such as Mod Podge.
Again, sealant is helpful because it will help your project stay around for ages.
I covered some in my article: How to seal Acrylic Painting?
Pro Tip: Try to stay away from any spray paint or aerosols, they will eat away at your project. The end product will look disfigured and you will be discouraged. Yes, the styrofoam can melt! Try it as a quick science experiment, but not with this product!
What Kind of Paints Can you Use on Styrofoam?
Simple said – a lot! Anything can be done these days, as long as you read the label and make sure it works. However, I suggest acrylic craft paint as best paint for this purpose.
So here is a quick breakdown of the differences between latex and acrylic paint:
Acrylic Paint on strofoam
Acrylic paint, is more expensive then poster paint, but it adheres to the surface of styrofoam much better than anything else out there.
With acrylics on styrofoam you will paint need a couple layers, but it will last!
Drying time is a bit longer and because of slightly higher price, is used mostly for crafts. For any serious project (to keep), this is best paint to use.
Latex Paint on Strofoam
Another option is to use a latex paint that is water based and safe. You might not have to do as many layers, but that comes with the price of how long it will last. It’s durability is much lover compared to Acrylic Paint. This is why it’s used mainly for painting homes and not Styrofoam
Poster Paint
Poster Paint is water-based and very easy to use. Because it is inexpensive, it’s great for kids as well. They can apply nice and thick layer of paint on the polystyrene shape without harming your wallet..
In schools you can see many teachers use poster paint because it’s easy, cheaper and washes off hands really nicely!
Pro Tip: So when you are painting and you see bumps with acrylics, you can sand them down if needed. Or you can also water down the acrylic before painting it, allowing you to maneuver the paint.
How do you seal acrylic paint on Styrofoam?
Almost done, just one more step. Styrofoam is soft and you have delicately handled the product throughout the process. So now just one last thing – let’s seal it!
There are a few sealants out there, but usually a simple craft glue or Mod Podge will work.
Using a foam brush, I would just paint the sealant on top of the styrofoam. The good thing with Mod Podge is that it will give it a hard coat that will protect your end piece from any outside weathering.
Again, try and stay away from any spray or aerosols. I just would hate to see all the hard work melt away – literally!
And now we are done! A quick pat on the back for all your hard work and now we can move on to our final but important tip at the end
Clean between the steps!
Just make sure that you are always cleaning in between each step. Paint brushes, workspaces and paint bottles all have long lasting life spans. It’s easy just in the moment to throw them away, but really, they come in handy for all projects.
Acrylic paint is really universal. Read more about different surfaces, where to use it in my related posts: