Do you want to know the secret to the perfectly done paint job? It is 80% of wall preparation and 20% of final paintwork. If you don’t take the time to clean your walls before painting, you’re in for a big headache later.
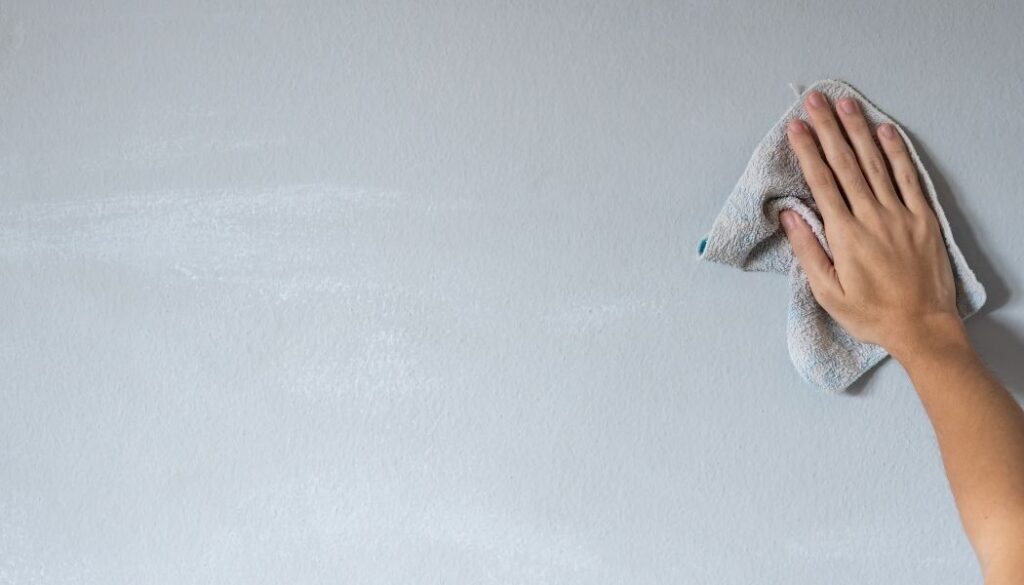
Cleaning or washing walls before painting will remove any dirt, dust, or grease on the surface. Hence allowing the paint to adhere better and create a smoother finish.
Many people working on painting projects don’t bother about the prep because it is tedious. Similarly, many professional painters usually skip this process because cleaning is only their job if you’re willing to pay them for the extra work.

How To Clean Walls Before Painting Them?
Cleaning the walls before applying paint can be done with a broom, vacuum cleaner or, rag, or water solution. Ensure this step is done well if you want a good-looking, long-lasting paint job.
Prepare The Space
The first thing you need to do is clear the space. Move out any furniture and other items so you have room to work. Then, use painter’s tape to protect the edges of the walls. This will help to keep the paint from getting on the ceiling, floor, and trim.
Understanding the TSP Method
Trisodium Phosphate (TSP) is a cleaning agent that removes grime, grease, and dirt from surfaces. It breaks down organic matter through a chemical reaction. When diluted with water, TSP makes an effective degreaser and cleaner for walls before painting.
When using TSP, it’s crucial to take safety precautions by wearing rubber gloves and goggles to avoid skin or eye irritation. TSP can be hazardous if mishandled, so following the manufacturer’s instructions is essential.
1. Mixing the TSP Solution
To get the best results when using TSP. Here are the steps I take:
- Start with warm water in a bucket. Heating the water enables the TSP powder to dissolve more readily.
- Add TSP powder according to the manufacturer’s recommended ratio. Often, this is 1/3 cup of powder per gallon of water.
- Stir continuously until the TSP dissolves entirely in the water.
- Check the solution ratio with a TSP test kit to be precise.
2. Applying TSP to Walls
With the TSP solution mixed, I’m ready to start cleaning. Here is my process for application:
- Dip a sponge into the prepared TSP solution to wet it thoroughly.
- Wipe the wall in 3-4 foot sections using vertical strokes from top to bottom.
- Overlap sections slightly to ensure full coverage.
- Let the TSP solution sit for 5-10 minutes before scrubbing for very dirty or stained areas. This extra dwell time helps lift stubborn grime.
- Rinse the sponge frequently as I work to keep it free of transferred dirt and grime.
3. Rinsing and Drying Walls
Once I’ve finished wiping down walls with TSP, it’s essential to complete the following steps:
- Use a clean sponge with just water to rinse each section of wall. The sponge removes any TSP residue left behind.
- Work from top to bottom again using vertical strokes.
- Allow walls to dry thoroughly for at least 24 hours before painting. TSP can interfere with paint adhesion if any moisture is left.
4. Fix Cracks and Sand Walls
After washing, the next step is to inspect for any wall damage, such as cracks, holes or dents. These must be fixed before painting as they will only become more evident after completion.
You can use a putty knife or spackle to fill the tiny cracks. For large holes, you can use a piece of drywall or plasterboard to patch them up. Once you have done that, sand the area until it is flush with the wall.
TIP: Use caulk to seal any seams or gaps in the surface or near edges. This will help to prevent the paint from chipping off over time.
Apply PrimerApplying primer is an essential step in painting walls. It helps to seal the surface and prevents the paint from peeling off. It is also very effective in covering stains or any other imperfections.
You can use a roller or a brush to apply primer on walls. For best results, using a roller for large areas and a brush for the corners and edges is recommended.
TIP: Make sure to shake the primer well before using it. Pour some primer onto a tray and start painting from the top of the wall, working your way down.
Once the primer is dry, paint the walls your desired color.
Do You Have to Wash a Wall Before You Paint It?
There are several reasons why all major paint manufacturers recommend washing walls before painting, such as:
- It removes dirt, stains, and grease
- It helps avoid paint failure (chipping, peeling and flaking), hence improving adhesion
- Allows a refined finish
NOTE: Washing is generally suitable for areas with a lot of traffic such as living and kids rooms or greasy areas such as the kitchen or bathroom.
However, you can skip it if the walls are painted and it is free from stains or grease. You can dust off the cobwebs and dirt for such walls using a broom or vacuum cleaner.
Check out my tips for: Clean cigarette smoke from paintings
How To Clean Greasy Kitchen Walls?
Grease can build up quickly in the kitchen, making it necessary to wash the walls. There are several solutions you can try for this purpose such as:
- Water and Dish Soap/Detergent – Add one tablespoon of dish soap to a bucket of lukewarm water and mix well. Use a sponge or cloth to wipe down the grease-covered areas. Rinse the area with clean water and let it dry completely.
- Vinegar and Water – Can be used on walls with thick grease. Mix one part vinegar with one part water in a bucket and use a sponge to apply it to the affected areas. Let it sit for five to 10 minutes before scrubbing the area with a brush. Rinse thoroughly with clean water and let it dry.
- TSP and Water – If the grease is tough, you can use a TSP (triple-sodium phosphate) solution. Mix one cup of TSP with two gallons of water and stir it. Use a cloth or sponge to apply it to the affected areas, allow it to sit for 10 to 15 minutes, and then rinse with clean water.
- Baking Soda and Water – This is a gentle solution that can be used on all surfaces. Mix one part baking soda with two parts water to form a paste. Apply it to the grease-covered areas and let it sit for 5 minutes. Once it dries completely, then scrub it off with a clean brush.
How To Clean New Drywall Before Painting?
If you have just installed new drywall, there will likely be a lot of dust. Failure to clean it may lead to the paint peeling or flaking off. Here’s how you can clean it:
- Remove all the dust with a vacuum cleaner or a damp cloth
- Then clean the wall with water + white vinegar solution and let it dry out
- Next, prime it with a good-quality primer.
- Now, you’re ready to paint over your drywall.
How To Clean Smoke-Stained Walls Before Painting?
Smoke stains often occur near fireplaces or where people smoke cigarettes indoors. The problem is that new paint can only cover such stains by doing the right prep work.
Additionally, nicotine and tar can damage your drywall and wallpaper. To clean the walls and prep them for painting, you can try:
- Apply a degreaser over the stained area with a moist sponge.
- Let it sit for 10 minutes before rinsing with clean water
- If the smoke stains are tough, repeat the degreasing process until satisfied.
How To Remove Mildew on Walls Before Painting?
Mildew often forms in humid areas such as bathrooms or kitchens. Use a mold-killing solution such as bleach and water (one part bleach and three parts water). Apply it to the affected area with a brush or sponge. Let it sit for 10 minutes before rinsing with clean water.
NOTE: Make sure to dry the surface entirely because if you do not, the chances of mold returning are very high.
Read more about: 14 tips clean acrylic paint brushes
What is the Best Mild Detergent For Cleaning Walls?
We have researched the best mild detergents that you can use for washing or cleaning walls. Each product has its pros and cons. You can choose the one that best suits your interests.
- Puracy Dish Soap
Puracy Natural Dish Soap is a high foam, fast-rinsing, family-safe alternative to dish soaps made with petroleum-based chemicals or harsh sulfates.
Doctors developed it to be gentle on your skin yet uniquely effective on dishware. The premium ingredients are sourced from plants, minerals, water, and a hint of fresh green tea and lime.
We recommend Puracy dish soap for wall cleaning if you have sensitive skin or are allergic to strong chemicals. The ingredients are biodegradable and environmentally responsible and can be used on painted walls, ceramic tiles, glass, and much more.
Pros
- Multi-purpose surface cleaner
- Gentle on hands
- Fast-rinsing
- It comes in a recyclable bottle
Cons
- It may not be effective for tough stains since it is made of natural ingredients
- Biokleen Dish Liquid
Biokleen Dish Liquid is made with natural ingredients. It effectively removes grease and dried-on food and rinses off clean, leaving no residue. Moreover, its formula is also concentrated, so a little goes a long way.
We recommend Biokleen dish liquid for wall cleaning because it is tough on grease and food yet gentle on your hands and the environment. The ingredients are biodegradable and safe for septic systems.
Pros
- Organic plant-based solution
- Free from phosphate
- Removes grease and stains effectively
- Safer Choice Certified
- Odor-free
- Made in the USA
Cons
- It does not produce a lot of suds
- Mrs. Meyer’s Dish Soap
Unlike many other soaps, Mrs. Meyer’s liquid soap is a natural and gentle alternative to harsh chemicals. It is specifically made to cut through grease, leaving your wall surface clean and stain-free – without any nasty chemicals.
This soap is biodegradable and is made with natural ingredients. It also contains no synthetic fragrances, dyes, or parabens.
We recommend Mrs. Meyer’s Soap because it effectively removes dirt and grease. Furthermore, it is safe for your family, an environmentally friendly product, and has a pleasant scent.
Pros
- Effective solution for removing greasy stains
- Quick and easy rinse – makes the cleaning process a breeze
- Eco-friendly and biodegradable
- Non-toxic – Good for cleaning all kinds of walls
Cons
- Some users find the scent overpowering.
Read more: Clean A Canvas Painting Without Damaging It
Related Questions
What is the best thing to wash walls with before painting?
The best thing to wash walls before painting is a mild detergent or dish soap. I prefer to use a few squirts of original Dawn dish soap in warm water. The dish soap helps cut through grease and grime, while the warm water helps remove surface dirt and dust.
What is the fastest way to clean walls before painting?
The fastest way I’ve found to clean walls before painting is to use a microfiber mop. Dip the mop head into the detergent wash solution, then mop down the walls in 3-4 foot sections from top to bottom, rinsing the mop frequently. The microfiber pad lets me clean painted walls quickly without excessive dripping or spraying. This method covers a lot of ground efficiently.
How to clean walls before painting ceiling
When cleaning walls before painting the ceiling, start with the top areas first. I usually stand on a sturdy ladder or scaffold to wash the ceiling area above the walls. Then, work my way down the walls in systematic sections. Washing top to bottom prevents drips from falling onto already cleaned lower areas.
How long do you wait after washing walls before painting?
I recommend waiting at least 24 hours after washing walls before painting. This gives the walls sufficient time to completely dry. Damp walls can cause paint adhesion problems and affect the finish. It’s tempting to start painting sooner, but waiting avoids issues down the road.
How to clean walls before painting bathroom
For cleaning walls before painting a bathroom, you should mix a solution of equal parts vinegar and water. The vinegar helps dissolve soap scum and hard water stains. This extra cleaning power is important for high-moisture areas like bathrooms. Rinsing well afterward prevents vinegar odor issues.
How to clean walls before painting vinegar
The best way to clean walls with vinegar before painting is to mix equal parts white vinegar and warm water. Apply this solution to walls with a sponge or cloth, let sit for 5-10 minutes, then rinse thoroughly with clean water.
The vinegar will help dissolve any sticky residues or hard water stains. Rinse well and allow walls to dry fully before attempting to paint for best results. Vinegar effectively cleans walls for painting prep without harsh chemicals.

