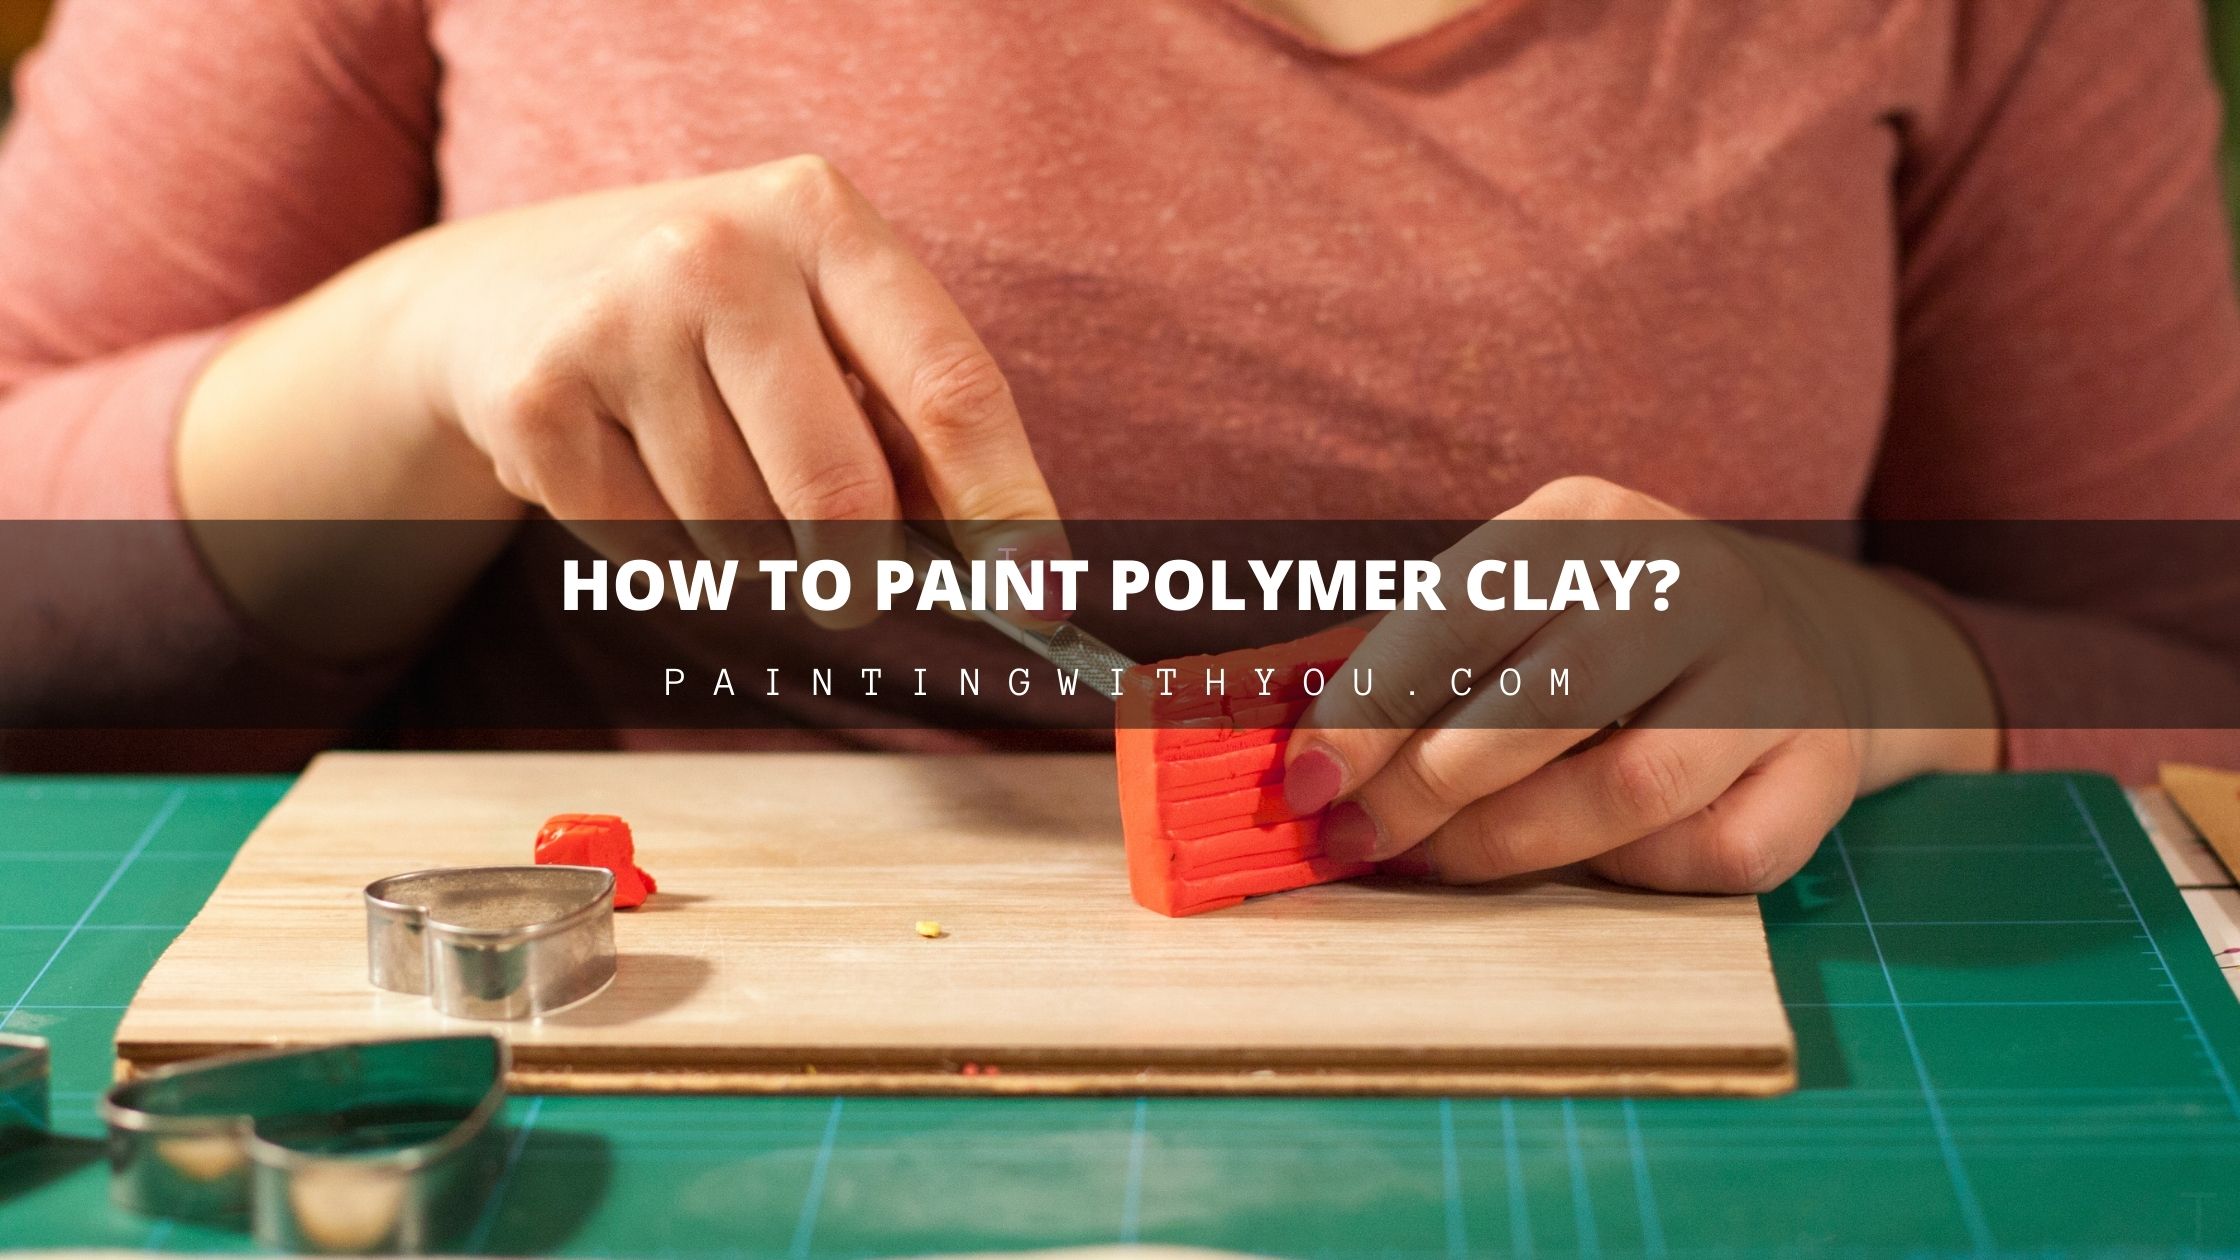
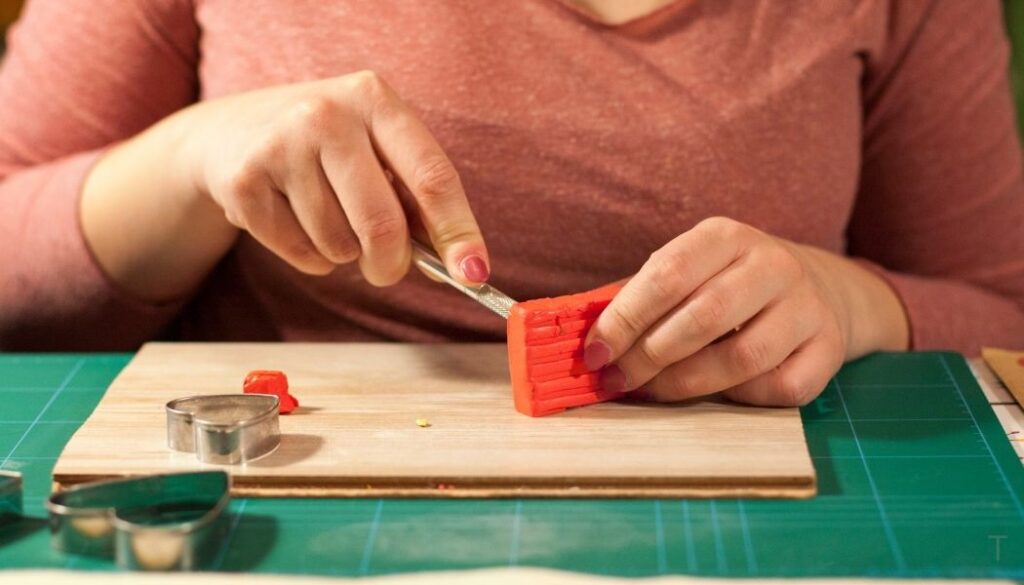
Polymer clay is a trendy crafting material used to create a lot of types of crafts. As with any craft, painting and decorating it to fit your creative vision is half of the fun. How do you go about to paint polymer clay ?
To paint polymer clay, you should use broad, even strokes and allow it to dry before applying subsequent coats. First, sculpt your art piece and apply glaze if desired. The piece should then be baked according to instructions. Painting polymer clay isn’t difficult but does require some research.
In this article, I’ll be taking a deep dive into what polymer clay is, its uses, how to paint it, and just about everything involving polymer clay and paint.
What Is Polymer Clay?
Polymer clay is a type of artificial clay made from polyvinyl chloride, aka PVC, the same material as the pipes. It is a very versatile material used in various ways throughout the world, such as in jewelry making, picture frames, sculptures, and other home decorations.
A big pro of polymer clay that makes it so widely used is that it won’t dry out when not being actively worked with, unlike some other types of clay – namely, natural clay.
Yet another popular characteristic of polymer clay is that you can simulate natural materials such as stone, wood, and more with technique and proper paint. This quality makes polymer clay perfect for making pseudo-nature decorations and displays.
Benefits of Polymer Clay
There are plenty of benefits to using polymer clay instead of air-dry clay or another clay. These include:
- Versatility: It is suitable for use in sculpting, jewelry, figurines, and more.
- Non-toxic: You can use it around children and pets, plus baking doesn’t produce toxic fumes.
- Quick-drying: It can bake in as little as 15-30 minutes in the oven, making last-minute gifts a cinch.
- It does not shrink or expand at any point: Your art will stay exactly the way you make it. This makes polymer clay great for precisely measured pieces.
- No-fade: If stored away from sunlight, polymer clay pieces do not fade over time. This is great to keep your brilliantly painted art looking great for a long time.
- Waterproof: Polymer clay won’t absorb water, making it ideal for washable art projects.
What Kind of Paint Do You Use on Polymer Clay?
You should use acrylic paint for the best results with polymer clay, but most water-based paints will be acceptable. Water-based acrylic paints come in virtually every color and are easy to work with. This type of paint will stick on clay really well and clean up with just water.
You can use Oil-based paints as well with the following caveats:
- It will take longer to dry.
- It will probably remain sticky for some time.
This isn’t due to a fault in the clay or paint, but just the way oil-based paints react with polymer clay.
Other Types of Paint you can use with Polymer Clay?
Of course, these aren’t the only two types of paint you can use, but they are the most accessible.
Other options include genesis heat-set paint, and watercolor paint.
Genesis Heat-Set Oil Paint is Expensive but perfect
These are much rarer and more expensive than acrylic or oil-based paints, but at the same time perfect to use with polymer clay.
These paints never get sticky or tacky and don’t dry unless baked, making them great for ongoing projects. A fun fact about this type of paint is that it is made of the same polymer as polymer clay!
Watercolor Isn’t Ideal
Watercolor paints are among the most popular paints out there, but not in the polymer clay niche.
This is because watercolors depend on uniform distribution of water, which is nearly impossible on polymer clay – it’s a form of plastic, so water just beads up on it.
It may be best to save the watercolors for other projects.
How To Paint on Polymer Clay Properly?
The path to becoming a pro at painting polymer clay is long and full of preparation and practice.
Thankfully, there are no esoteric secrets to unlock – just easy-to-follow steps.
Here’s how to paint on polymer clay like a pro:
- Pick the right paint for the job.
- Get a large and fine brush, sandpaper, and sculpting tools.
- Mold, bake, and glaze your piece.
- Use sandpaper to rough up the finish.
- Apple acrylic paint first in long, even strokes.
- Let the piece dry for two hours between coats of paint.
There’s a lot to learn and keep in mind when painting polymer clay, but you won’t have any trouble with diligence and dedication.
1. Pick The Right Paint For The Job
There are many characteristics to consider for the type of paint you need, and it will inevitably take a lot of practice and experimentation to find the right kind of paint you’ll need for your perfect art project.
To start, there are a few qualities to look for to ensure you get the best possible start:
- Opaque paint will be the most useful as it will provide the best coverage for your projects and give a more brilliant coloration than less opaque paints. More opaque paints will also require fewer coats to finish a project, not to mention they show up better on dark clays.
- Quality paints will be fade-resistant. This is crucial for keeping your artwork looking brilliant and freshly painted for a long time to come.
- Thin and smooth paints will be easier to work with for beginners than thick paints that may spread wildly and create undesirable effects. Getting a light and smooth paint to start will give you more control over how it applies, and you can move on to thicker paints when you have a good handle on how the process works.
2. Get a Large and Fine Brush, Sandpaper, and Sculpting Tools
Depending on your project, you may wish to have specialty tools on hand.
- You’ll need a large brush for broad strokes and a smaller, finer brush for more fine detail work. While you can make do with only one of each, more brushes can make things easier on you.
- You’ll also need some very fine 200+ grit sandpaper to roughen up your clay before painting it. Because this is polymer clay, sandpaper creates very fine nooks for the paint to better adhere to the clay, otherwise doesn’t absorb and sits on the surface. With regular clay, this isn’t necessary.
- In addition: scissors, pliers, and essential sculpting tools will help you threw the sculpting process before pain the clay
3. Mold, Bake, and Glaze Your Piece
For the purposes of this guide, I’m going to assume you’re painting after baking your art piece. Painting before is a bit different and recommended for artists with a bit of experience under their belt.
Your first steps will include:
- Mold your desired art piece.
- Bake your project at 275°F (135 °C) according to your clay’s specific instructions – every clay will be different, so just read the documentation and save yourself some trouble.
- Allow the piece to completely cool down. Once it feels cool, give it even more time to be totally certain it’s cool in the center.
- Add a layer of glaze if desired to seal the clay and give paint a more uniform surface to cling to.
4. Use Sandpaper to Rough Up the Finish
The idea behind using sandpaper is to make the clay more paint-friendly. As with painting wood, going onto a smooth surface can lead to streaks and patchy areas.
Once your piece is completely cool, use 200+ grit sandpaper and very lightly sand the surface until it feels slightly rough to the touch.
NOTE: Do not overdo the abrasion! The key is just to give the paint more ‘surface’ to grip.
5. Apply Acrylic Paint First in Long, Even Strokes
Before you apply the first coat of paint, be sure to clean the surface of any debris leftover from sanding. Use a dry cloth and wipe and brush away anything that may be left. Ensuring your piece is clean, begin painting.
If using multiple types of paint, opt to use acrylic paint for the first coat. It will dry fast and give a second coat more richness, even allowing for layered effects.
NOTE: Brushstrokes should be long, even, and in thin layers. The first layer is the most crucial.
6. Let the Piece Dry for Two Hours Between Coats of Paint
Allow a painted art piece to dry for at least two hours before handling or applying a second coat. This will guarantee even, streak-free layers. Though in some cases, you may need to wait a little longer, such as warmer, more humid climates.
NOTE: If using a thicker ‘heavy body’ or oil-based paint, consider letting it dry for even longer.
What are Possible Problems Painting on Polymer Clay?
Painting polymer clay isn’t without its challenges or problems, as many novices have found out. As with any hobby, painting polymer clay has issues you may face at times, but it’s best to educate yourself on what these are before you come across them.
1. Sticky or Tacky Paint
This is one of the most common problems people encounter when painting polymer clay projects, and it’s hard to avoid or predict.
Some paint formulations remain sticky on the art even after the clay is baked. This is most prevalent with oil-based paints, but artists have found that even some formulations of acrylic or other water-based paints will get tacky after baking.
NOTE: You can’t predict when this will happen because it’s the result of a chemical reaction between the specific type of paint and the specific type of clay you have. While it’s frustrating to have this issue after working so hard on a piece of art, it’s worth trying a different kind of paint with your clay.
2. Poor Paint Coverage
With any new paint, inadequate coverage can be a problem. This is especially the case with lower-quality craft paints because they don’t have the pigment density that professional-grade paints do.
That’s not to say that you can’t use craft paints with polymer clay, though – you’ll just need to use multiple coats and perhaps temper your expectations of what the results will be.
You can get nearly similar results to professional paints, but it will take much more work.
NOTE: Sandpaper goes a long way toward mitigating this issue. Using 200+ grit sandpaper to lightly roughen a project before painting will give paint a greater chance of sticking and covering what you want it to cover.
3. Cracking, Peeling, Chipping, or Bubbling
Polymer clay projects are more prone to cracking, peeling, and chipping than other clay products because it isn’t absorbent. This means that polymer clay doesn’t soak up paint put on it – the paint sits on the surface.
When poor quality paint or too little paint is used, it can produce a chipping or peeling effect. Peeling and cracking can also occur if the clay is too dry. This can happen if you use paper to absorb some of the plasticizers in the clay to make it drier. In such a case, the clay would be prone to cracking whether you painted it or not.
Bubbling is easier to identify because it’s nearly always because of too much moisture in the clay. This is most common when painting polymer clay with water-based paints, where the project will bubble paint after baking.
TIP: To stop this, you need to let painted clay sit for at least two days before baking it - this will allow excess moisture to evaporate out instead of being trapped in the clay.
4. Knowing When to Paint Polymer Clay
The question of whether to paint polymer clay before or after baking is as old as the hobby of painting clay, and there’s not a cut-and-dry answer.
You can paint polymer clay before baking, and it will help create a stronger bond between the paint and clay, lessening the chances that the paint will peel or chip early. However, if you don’t know what you’re doing and leave excess moisture in the clay, it can lead to paint bubbling after baking is done, which has the potential to ruin a whole piece.
TIP: Generally, it’s recommended to paint after sculpting and baking to skip the entire bubbling issue. However, poorly cured clay may not ‘take’ paint well and lead to peeling and chipping.
Best Polymer Clay Paints
For beginners, you have lots of options at your fingertips as to what paint to use. Your first step should be determining what price point you’re comfortable with, as that will determine the quality of paint you’ll have access to.
Paint leaps in quality as well as price due to the amount of pigment involved, but you’ll be able to create satisfactory pieces regardless of what you start with.
1. Golden Heavy Body Acrylic Paint
Golden Heavy Body Acrylic Paint on Amazon.com is a balanced and high-quality set of acrylic paints to start your polymer clay hobby with. There are no dyes or artificial fillers to clog up your work – just thick, smooth, and rich paint that spreads like a dream.
This is a little pricier than craft paint you can pick up at your local store, but it will provide a richer color with a thick body not prone to peeling or chipping.
As far as cons, you might come across that as heavy body paint, this paint takes a little longer to dry than other typical acrylic paints. Depending on the results you want, though, this may not be a dealbreaker.
Another less predictable con is that you may run across tackiness or stickiness in your baked projects with some polymer clays.
TIP: You can remedy this by waiting longer before baking, baking longer, or trying another type of polymer clay.
Liquitex Soft Body Acrylic Paint
Soft body acrylic paints also have their place within polymer clay painting. This pure pigmented acrylic paint has a high viscosity, making it great for covering large surface areas in larger projects.
What makes soft body acrylics worthwhile is that they provide a similar color vibrancy to heavy body paints, but without lengthy drying times. That makes them a good compromise for those who want rich and brilliant colors without having to wait a long time. They are less likely to produce sticky or tacky results and produce long-lasting results on par with heavy body acrylic paints.
The only difference between soft and heavy body paints is that you may wish to do a second coat of the former if only to ensure that your work remains brilliant and fade-resistant.
Caliart Acrylic Paint Set
This is a cheaper alternative to the professional-grade paints mentioned above because I know that not everyone can drop a lot of money on what’s just paint for a hobby.
This is high-quality paint on Amazon.com at a lower price point and will suffice for most projects with two or more coats. The colors are richly pigmented with no artificial fillers and spread easily. Interestingly, this paint dries quickly, allowing you to complete two or more coats for layered effects.
As with any cheaper paint, your results may vary.
NOTE: Generally, cheaper paints such as this are more prone to peeling and chipping before their time, but taking care of your art after baking can help minimize it. Sunlight fading is another problem cheaper paints suffer from, so watch out for that and keep your art out of the sun.
With practice, you can get nearly professional results from this paint.
Can you Mix Polymer Clays?
You can mix different brands and colors of polymer clays together to great effect. More advanced artists do this to combine desirable characteristics of two types of clay. To mix two types of polymer clay, you can simply condition the two together until the combined mass is thoroughly pliable.
Fimo clay, for example, is considered strong and a bit hard to work with. Sculpey, by contrast, isn’t as durable but is much easier to work with. Mixing these two clays can be a great way to gain Fimo’s durability and temper it with Sculpey’s flexibility.
Safety When Using Polymer Clay
Polymer clay is one of the safest clay materials to use because it doesn’t put off toxic fumes when baking. However, there are some basic safety precautions you should be aware of when working with and painting it.
The main precaution is to not let polymer clay come into contact with surfaces that you use for food. This means not using the same trays for baking clay and pastries, for example. Polymer clay can leave behind residue that can make you sick if you cook or eat from it afterward.
If you use similar tools for cooking and working with clay, ensure that they’re separated at all times and that the two types of utensils don’t get confused.
Store kitchen-like clay tools in a separate area to minimize the chances of confusion.
How To Condition Clay?
Clay conditioning is a lesser-known but critical step to prepare any clay. Before you can work with and shape polymer clay, it needs to be conditioned, which means to be made malleable, soft, and of uniform consistency throughout the whole mass.
If you’ve opened fresh clay and found it stiff and difficult to work with, conditioning is what your next step should be.
- To condition new or old and stiff clay, take a two-ounce chunk of clay and work it every way you can. The heat of your hands will seep into the clay as you manipulate it, making the process easier.
- If parts of the clay remain hard and stiff, especially with old clay, you can use a few drops of mineral oil to help accelerate the process. Once every inch of your clay is equally pliable, your clay is conditioned.
An alternate method of conditioning clay is to use a pasta machine, which is a standard tool of clay artists. A beginner will likely not have this handy, but it’s a somewhat more manageable way to ready clay for shaping.
Feed your clay through the pasta machine and fold it each pass through the machine. When feeding it through again, put the folded edge into the machine – this helps keep air bubbles out of your clay.
Do I Need To Bake Polymer Clay?
You need to bake polymer clay to preserve the integrity of your art. Some varieties of polymer clay are ‘air-dry,’ so they don’t need to be baked. However, unless your polymer clay product specifically states that it air dries, you should assume that you’ll need to bake your clay.
Final Thoughts
Polymer clay molding and painting is a great creative hobby that requires a bit of investment and know-how to get started, but you can create some truly stunning decorations and even jewelry with dedication and practice.
6 thoughts on “How To Paint Polymer Clay?”
Comments are closed.